 The
discussion of disconnecting the Torso from the rotation of the Pelvis in
the previous tutorial should have immediately made you think of doing a
similar thing for the feet. After all, since the feet are often planted
on the ground, they should remain immobile even when the pelvis shifts
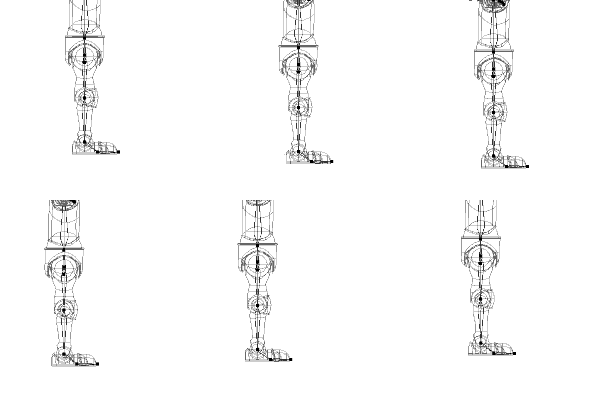
back and forth. In the present setup, however, the feet flop around
whenever the torso moves.
However, we can't simply disconnect the Thighs from the pelvis. After all, the movement of the pelvis -does- influence the movement of the thighs, and of the calves, and so on. What we need is to have a way that we can let the computer figure out what the proper position of all of these bones are, given the position we want the feet to occupy.
If that little requirement sounded familiar, it's for good reason. This is precisely the function that the Inverse Kinematics engine serves. And, in fact, if you manually move the Foot bone, the IK engine will set up the leg bones correctly to achieve the position you request.
The problem is that the IK engine doesn't realize that we want the foot bones to be independent of the movement of the pelvis. It assumes that, since the foot bones are descendents of the pelvis, we want them to move with it.
The solution to this is very simple in concept. We need to create
some bones that are not descendants of the pelvis, and attach the
foot bones to those bones. So let's do it!
Select the Right
Foot 2 bone. Holding down the Control key, drag it up in the PWS
until it highlights the Model name. Let go. This will create a copy
of the Foot 2 bone, at the top level of the hierarchy. Rename this
"Right Foot Target". Resize it so that it is clearly larger than
the Right Foot 2 bone, to make it easier to pick.
 Click on the Right
Foot bone. Right click and create a new 'Kinematic' constraint.
Link the Right Foot bone to the right foot target. Select the Right
Foot and click 'J' to hide the bone (since you'll never need to directly
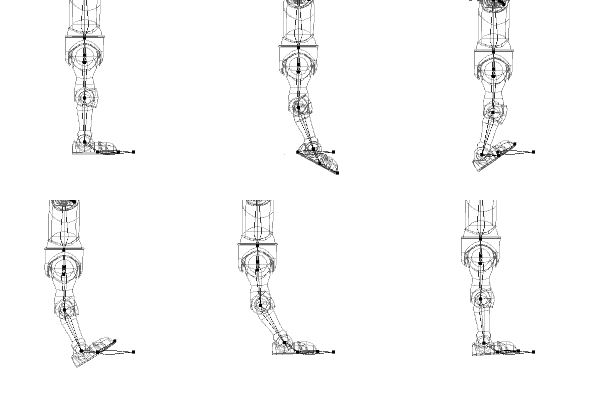
manipulate it again). The picture at left will show you what effect
this will have on a figure in motion. The left leg and its bones
have been hidden to make the picture easier to understand.
The Kinematic constraint tells the Inverse Kinematics engine to try
to act as if there were a kinematic attachment between the two bones specified.
Because the constraints can only influence the position of the bones, and
not prevent the user from moving the target bone, it is not always possible
to keep the bones together (for example, if you move the target bone further
away than the leg can stretch), but the program does a very good job of
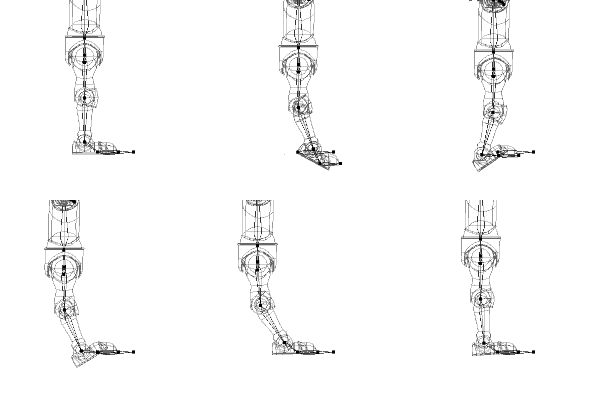
solving any reasonable situation. You'll notice, however, that the
toe pivots around a lot as the foot moves. We can correct this.
 Go into the Pose
window. Click on the Right Foot 2 bone channel. Right-click and create
a new 'Orient Like' constraint. Orient the foot bone like the Foot
Target bone. Click on the Right Foot 2 bone and click 'J' to hide
the bone. Again, you won't need to deal with it directly anymore.
Create an Action for the DojoBot, and go play with the Right Foot Target. Never ever move bones about manually in your constraint pose: it will create channels which, unless you painstakingly remove them, can override actions that you create later. Your default pose should have -only- constraints... no bone channels of any other type. By creating temporary actions when you want to experiment with motions, you can avoid accidentally inserting motion keys into your pose.
The new constraints should give you some measure of control over the
right foot. However, the heel of the foot is probably moving in ways
you don't want. On the next page, we'll add an additional control
which will help to manage that movement.
Next Page
Back to Dojo