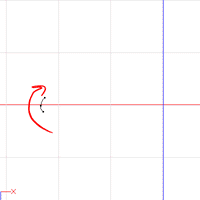
 Go
to the Right Hand Control object window. Click into Model mode.
Go to top view. Click Shift-'A' and then click three times to draw
a spline at roughly the line where the fingertips would be located.
Go
to the Right Hand Control object window. Click into Model mode.
Go to top view. Click Shift-'A' and then click three times to draw
a spline at roughly the line where the fingertips would be located.
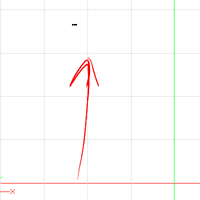 Go to Front view,
and you should notice that your spline has been drawn at ground level.
Select all the points in the Spline, hold down the '2' key, and drag them
up to where they belong.
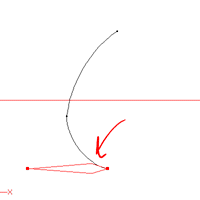 Change to Bones
mode. Select the Right Hand Control object in the Project Workspace
(this will keep the bone you draw from being the child of any other bone:
the Thumb target, for example). Click 'A' and drag from the foremost
point of the spline away to the left. Rename this bone "Target 1".
Go to front view, and position the bone so that it is on the same vertical
level as the spline.
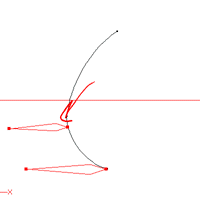 Again, click on
the Right Hand Control. Click 'A' and drag from the one-third point
to the left. Make sure that the bone is on the same vertical level
as the spline. Rename this bone "Target 2".
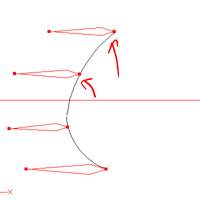 Do the same as
above to create Targets 3 and 4 at the two-thirds point, and at the far
end of the spline.
Now you've got all these nice control structures. Move on to the next
page to see how to make them work together.
Previous Page
Next Page
Back to Dojo