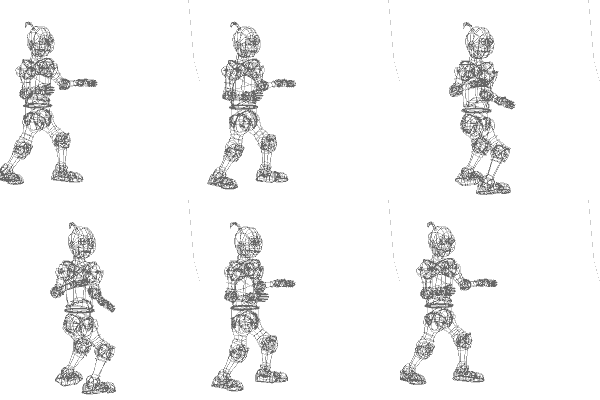
One way to imagine
the effects of an action in one part of the body is to think about the
rate at which it is transferring energy to the rest of the body.
I tend to think of this as "power developed", but there's nothing particularly
special about that term. Anyway, if you were to look at the
two actions as graphs of power developed, it would look something like
this.
As you can see from the line labelled "Total" (a rough estimate, of
course), the total power developed does not peak when the individual curves
peak, because they are out of synchronization. This is typical of
most easy movements, because they body moves smoothly and with a minimum
of effort.
However, the body
behaves differently when it is trying to exert itself, especially in a
movement like a punch where the exertion is all applied at the same instant.
In this case, the overlapping action will still start a set number of frames
before the base action, but the two actions will peak at or near the same
frame.
As you can see, this causes a dramatic difference in the nature of the "total power developed" graph.
Because (in this case) the pelvis and the torso are exerting themselves in the same instant, rather than out of synch, they generate enormous power. This is precisely the power that, channeled through the fist, causes the punch to be devestating.
So, what does this mean in actual animating? You want to add an
overlapping movement of the torso which starts after the beginning of your
pivot, and ends on the same frame. Generally this will be a rotation
of the shoulders to bring the punching arm further forward.
 Now, even without
arm movement, the motion you've got probably looks fairly attack-oriented
(something about the rapid motion of the shoulders in that peak instant).
Imagine how much cooler it would be if the arm actually moved!