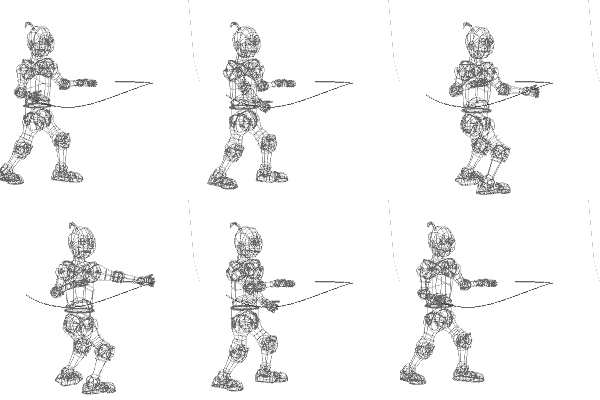
The next bit will come as a surprise to absolutely nobody. We're going to constrain the hand target to a Path.
Create a new model
and drop it into the choreography. Switch into modelling mode and
draw a spline from the starting point of the hand down by the hip, to its
impact point, and then back towards the chest for the recovery. Constrain
the Hand Target bone to this path, and check Translate-only so that it
won't bend and contort when the path moves back towards the body.
Now, to get the facing of the hand correct, go back to the new model
that you had the Path in. Slip into bones mode, and place a bone
a little bit past where the punch will impact. Constrain the Hand
Target to Aim-At that bone. That will make sure that the hand retains
a reasonable facing as it moves. You might also want to set a few
keyframes for the Bicep target, to make sure that the arm is correctly
oriented.
 If you modify the
ease channel so that the punch impacts at the point where the pelvis and
torso motions are peaking, you will see that you already have a rough punch
animated. It probably looks very loose and unfocussed, however.
To make the punch look like it's really steaming, you'll need to understand
a whole new principle of animation: isn't this exciting?!?