You'll need to create another model to represent
the Line of Action. Once you've done this once or twice, you'll be able
to just load up a previous line of action and modify it (either in a new
model or in Muscle motion). But for now you'll have to make one from
scratch.
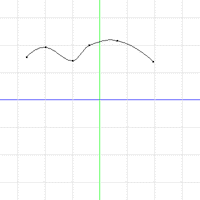 Create a new model.
Name it 'Line of Action'. Open that model window. Go to the
side-view. In this window, lay out a six-point spline, any old place.
You'll be placing the spline more carefully in Choreography, so don't worry
where it goes now.
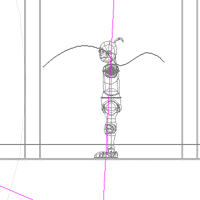 Now drag this
model into the Choreography. Make sure that it's translate setting
is at 0,0,0. Go to the side-view in choreography.
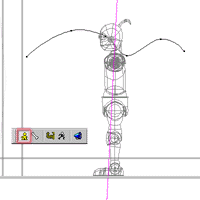 In the Project
Workspace, select the Shortcut to Line of Action. In the mode-bar, click
on the Model button. This will show all of the points in the Line
of Action, and allow you to modify the base model right here in the choreography.
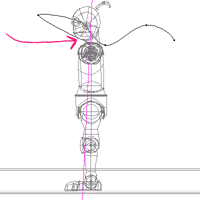 Click the first
point of the spline and drag it to the joint between the Torso and the
neck.
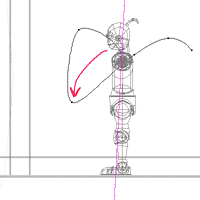 Click the third
point of the spline and drag it in front of the pelvis where the torso-neck
joint will end up at the bottom of the bow.
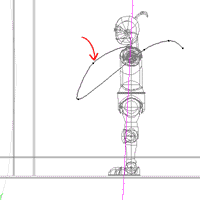 Click the second
point of the spline and drag it up to about the halfway point, then up
and out a little to give a natural looking
curvature.
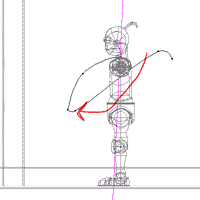 Click the fourth
point of the spline and drag it near the third point, but probably a little
bit back. You don't want the movement coming up out of the bow to
be a perfect reversal of the movement going into the bow. That would
be symmetric and look artificial.
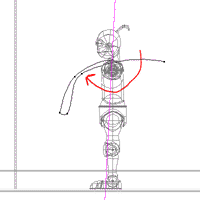 Click the fifth
point of the spline and drag it near the second point, but again a little
bit off-line.
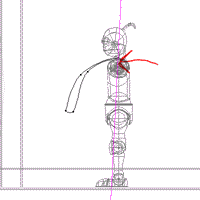 Click the sixth
point of the spline and drag it near the first point.
Now you have the line of action clearly marked. I promised you
that you would be able to make the model follow that line of action.
Just click to the next page to find out how.
Previous Page
Next Page
Back to Dojo
 Create a new model.
Name it 'Line of Action'. Open that model window. Go to the
side-view. In this window, lay out a six-point spline, any old place.
You'll be placing the spline more carefully in Choreography, so don't worry
where it goes now.
 Now drag this
model into the Choreography. Make sure that it's translate setting
is at 0,0,0. Go to the side-view in choreography.
 In the Project
Workspace, select the Shortcut to Line of Action. In the mode-bar, click
on the Model button. This will show all of the points in the Line
of Action, and allow you to modify the base model right here in the choreography.
 Click the first
point of the spline and drag it to the joint between the Torso and the
neck.
 Click the third
point of the spline and drag it in front of the pelvis where the torso-neck
joint will end up at the bottom of the bow.
 Click the second
point of the spline and drag it up to about the halfway point, then up
and out a little to give a natural looking
 Click the fourth
point of the spline and drag it near the third point, but probably a little
bit back. You don't want the movement coming up out of the bow to
be a perfect reversal of the movement going into the bow. That would
be symmetric and look artificial.
 Click the fifth
point of the spline and drag it near the second point, but again a little
bit off-line.
 Click the sixth
point of the spline and drag it near the first point.