 OK, that was it
for the Model window. Close it and go back to the Choreography.
Select the Line of Action model from the PWS again. This time, click on
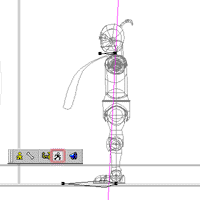
the Skeletal mode button. This will show you the target bone you
created.
You've got the line of action contained in this model, but you don't have anything there to actually trace this line of action. So you better create something.
Go to Bones mode. Click Add bone (or just 'A'), click on the beginning
of your spline, and drag a little ways forward. This will create
a bone labelled 'Bone 1'. Name it 'Line of Action Target' (or something
more to your liking) instead.
 OK, that was it
for the Model window. Close it and go back to the Choreography.
Select the Line of Action model from the PWS again. This time, click on
the Skeletal mode button. This will show you the target bone you
created.
Click on the target bone. Do not drag it anywhere, or rotate it or anything like that. Just click to select it. If you look in the Project Workspace, you will notice that, under Choreography Action, and under Shortcut to Line of Action, a 'Line of Action Target' channel has been created.
Right-click this channel item, and you will see the option to create a New constraint. Create a new Path constraint. In the properties window, select the dropdown for Object, and choose 'Line of Action'. Now click on the Eyedropper button in the properties window. When you put your cursor back into the Choreography window, it will look like an eyedropper. Click on the spline of the Line of action.
If your Target bone was not exactly attached to the Line of Action, it should jump to become attached. This is a sign that the constraint is in force. The Path constraint will cause the target bone to stick like glue to the spline you specified. But it doesn't move yet. That's no good.
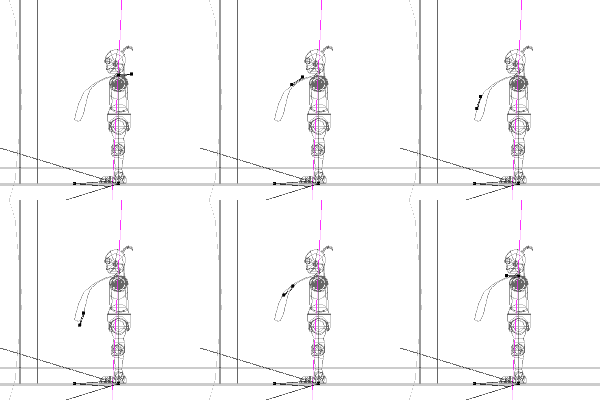
Using the frame toolbar, make sure you are on frame 1. In the
properties for the Path constraint, enter '0' in the Ease field.
Using the frame toolbar again, enter frame 60. In the properties
for the Path constraint, enter '100' in the Ease field. The target
bone should jump to the other end of the spline.
 The Ease specifies
how far, on any particular frame, the bone should be translated down the
path. So, now that you are interpolating from 0 to 100 over the course
of 60 frames, the bone will travel smoothly along the path. Use the
frame bar to travel back and forth in the frames and watch the bone travel.
After all of this effort, the trick to getting the DojoBot attached to this path is almost disappointingly simple. Go back to frame 1. Select the DojoBot in the PWS. Since you are still in skeletal mode, you should see the skeleton of the DojoBot highlighted on the screen.
Click on the Torso. Again, a channel should appear buried in the Choreography action for the DojoBot. Right-click this channel and create an Aim-At constraint. In the properties, click on the Object drop-down and select 'Line of Action'. Click on the Bone drop-down and select 'Line of Action Target'.
Click on the Pelvis. Create an identical constraint (Aim-At, Line
of Action, Line of Action Target).
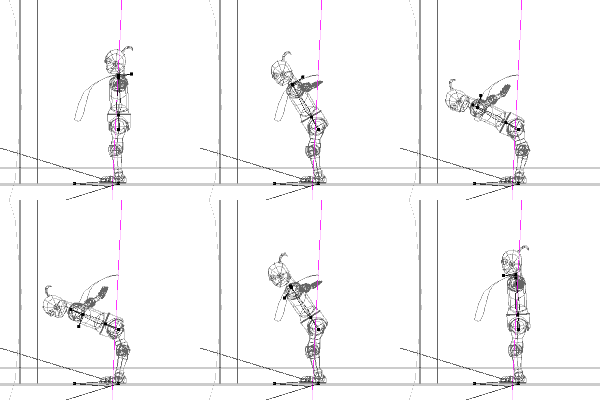
 The Torso and
Pelvis are now permanently constrained to aim at the target bone as it
moves along its path. Scrub back and forth through the frames to
see the effect of this constraint.
However, as you can plainly see, the character doesn't look like they're
bowing. The hands are doing strange things, the knees are breaking,
and the body as a whole looks horribly overbalanced. Go on to the
next page to clean up these little inconsistencies.