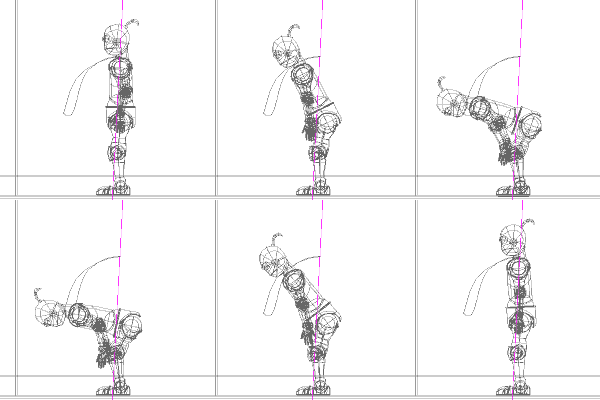
Knowing the principle slow-in-slow-out, it should be obvious what you want the channel to look like. The movement should start slow at frame 0, accelerate to frame 15, then taper to slow again at frame 30. Then, for the second motion it should be slow at frame 30, accelerate to frame 45, then taper to slow again at frame 60.
Knowing how the
shapes of the channel correspond to the acceleration and deceleration,
you can see that you will want a channel that is shaped roughly like this:
Now, realizing that the channels are just splines by another name, it
should be simple to achieve this.
Click on the control
point at frame 0. Adjust the Gamma until the spline coming out of
the control point is nearly level.
Click on the control
point at frame 60. Adjust the Gamma until the spline coming into
the control point is nearly level.
That's got the
slow motion at the beginning and end of the total bow. Now you want
to slow things down on the middle as well. For this you'll need another
control point.
Click 'A' and click in the middle of the spline. This will create
another control point. Using the Properties dialog, set this control
point to be at frame 30, at 50 percent ease.
Now, still in
the Properties dialog, adjust the Gamma until the splines coming into and
out of this control point are nearly level.
 That's basically
it as far as slow-in-slow-out is concerned. Those simple changes
to the channel will have changed your animation timing to look more like
this:
You can further fine-tune the motion by playing with the Magnitude of the various channel points. Increasing the magnitude will make the acceleration and deceleration around the point more gradual. Decreasing the magnitude will make it sharper.
You should feel free to experiment with the settings. When you're ready,
go to the next page to learn about Overlapping actions.
Next Page
Previous Page
Back to Dojo