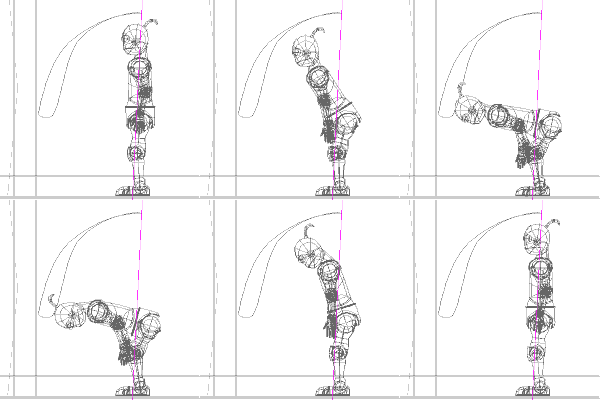
 Now when you scrub
through your motion, the neck and head will follow the lagging movement
of the second target bone.
Close the channel window and go back to your choreography. Select the Action that you applied to DojoBot, and make sure to extend its length to 65 (otherwise the constraints will collapse the moment you pass frame 60).
If you scrub through the frames now, you can see that the second bone lags five frames of movement behind the first one. This seems like it could be substantially more useful.
Go back to frame zero. Click on the neck bone to create a channel. Right-click this channel and create a new Aim-At constraint. Select Line of Motion in the object drop-box. Select Line of Motion Target 2 in the bone drop-box.
Go back to frame zero. Click on the head bone to create a channel.
Right-click this channel and create a new Aim-At constraint. Select
Line of Motion in the object drop-box. Select Line of Motion Target 2 in
the bone drop-box.
 Now when you scrub
through your motion, the neck and head will follow the lagging movement
of the second target bone.
That's pretty much it. This isn't really good overlapping. You could do a lot better with a little more work (make the torso lag the hips a little, make the head lag the neck a little). But it wouldn't be anything different from what we've done already. I encourage you to do it, because it's really good practice, but you hardly need a whole other section of tutorial to tell you how.
Congratulations! You've finished the Refine level Bowing tutorial.
Previous Page
Back to Dojo